

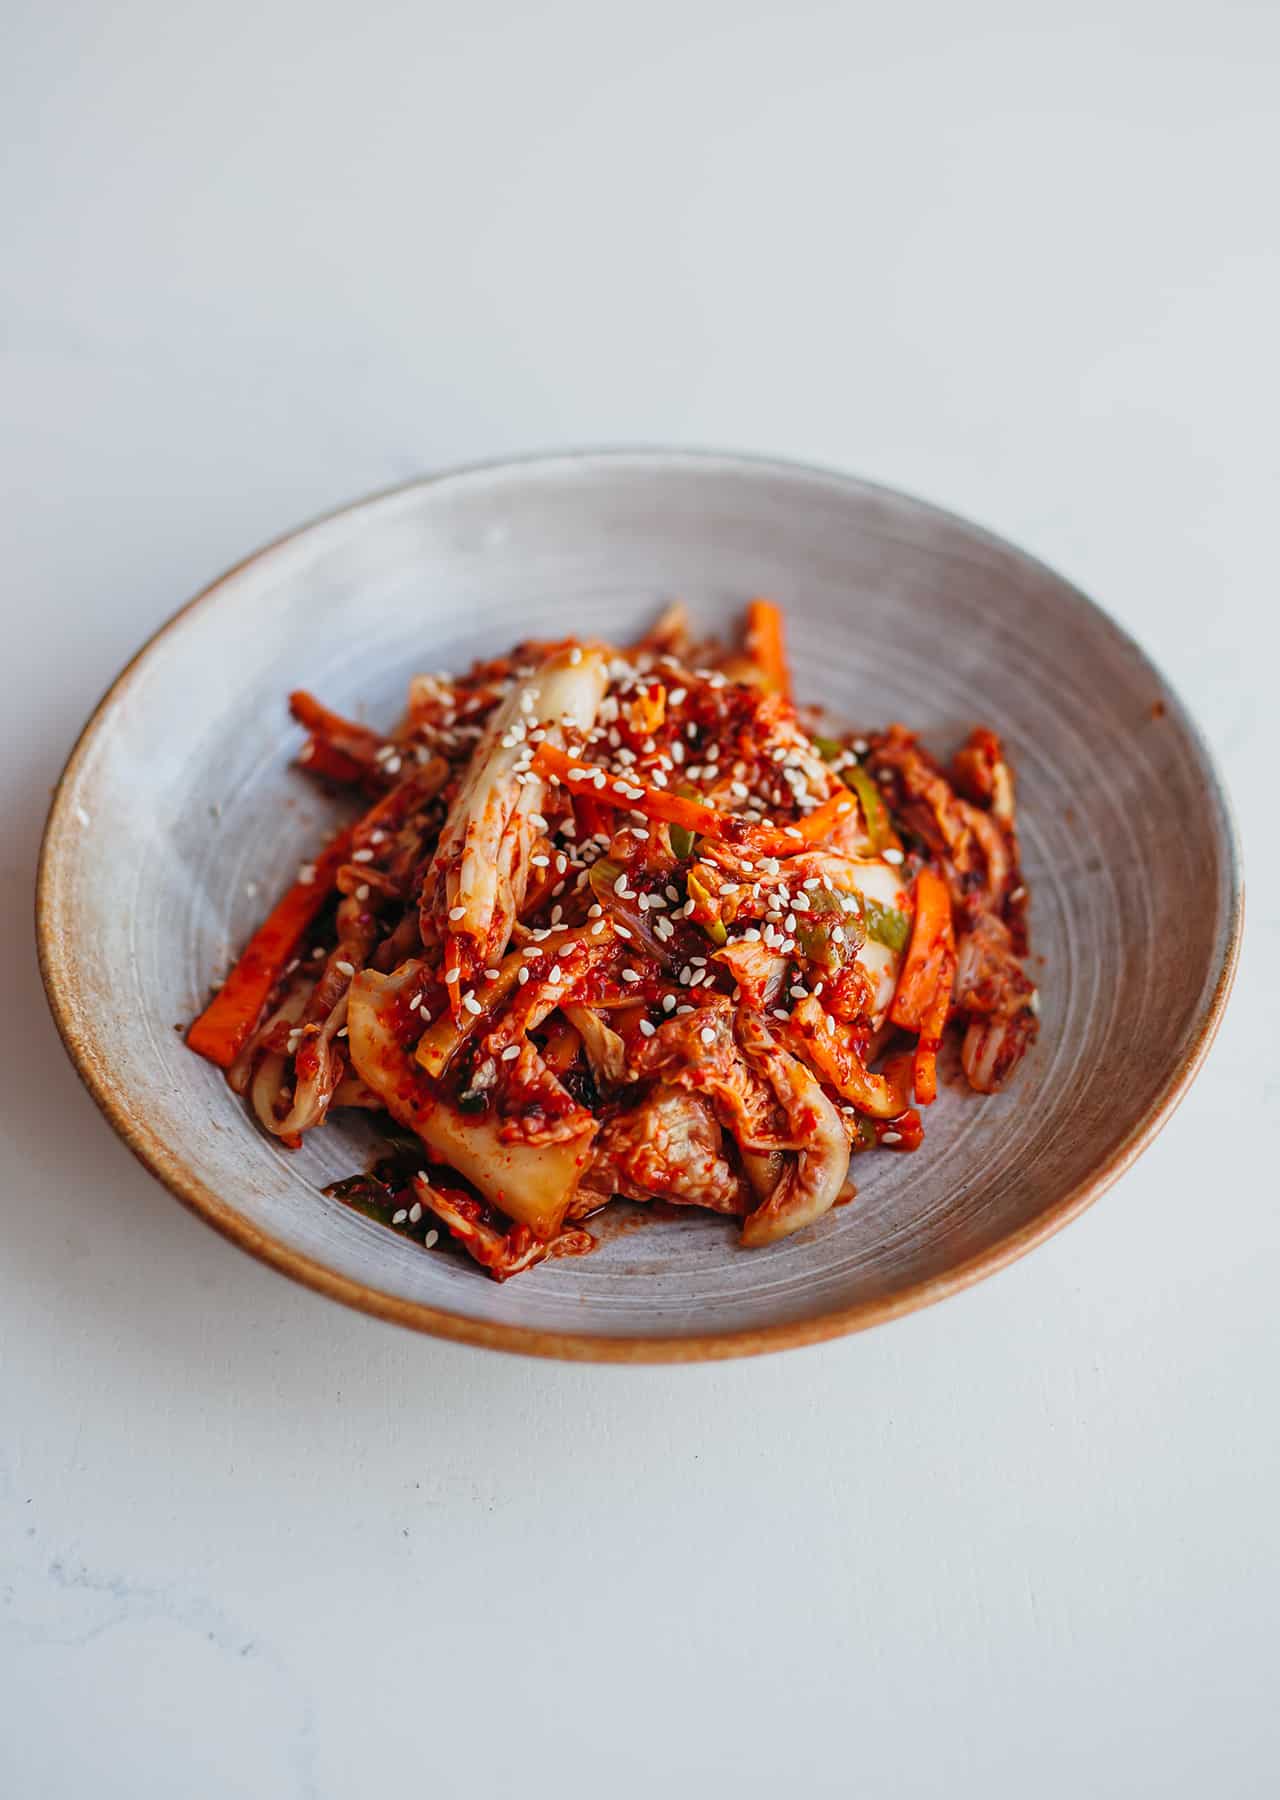
Kimchi is a staple in Korean cooking.
It’s essentially fermented vegetables, most commonly cabbage, carrot and radish, which are mixed with a spicy paste.
Traditionally made using shrimp or fish paste, we instead use soy sauce and nori for a similar salty taste of the sea.
Apart from the above, we try to stick to the traditional method as much as possible.
Honestly, homemade kimchi is delicious and it’s a really rewarding process.
Here’s what you need to know about the fermentation.
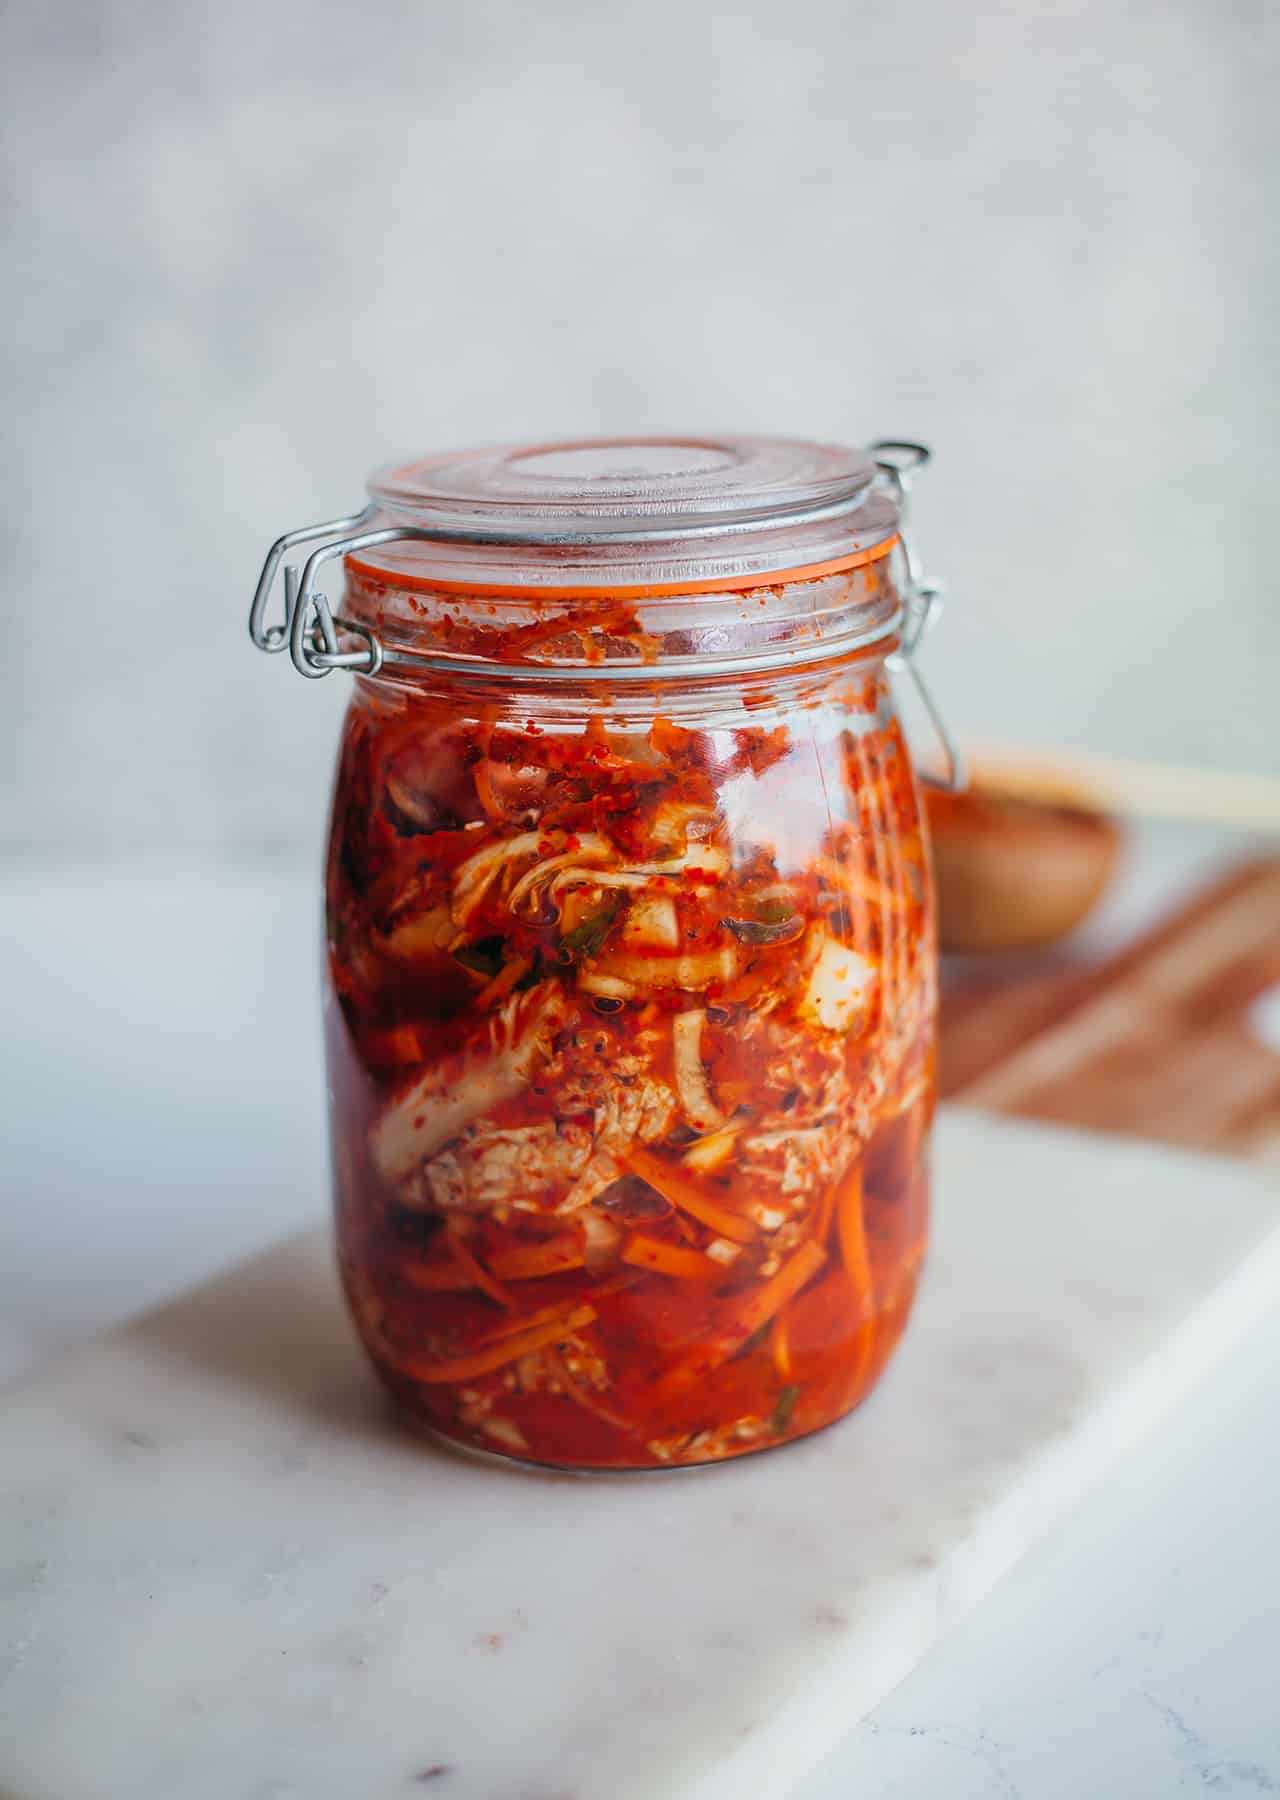
- After you’ve packed the kimchi into the jar, it’s best to leave it for at least 1-3 days at room temperature to develop the sour flavour. The longer you leave it, the more lactic acid will develop and the more sour it will taste. If you see bubbles developing, then you know the fermentation process is working. Give the kimchi a taste each day (be careful not to contaminate the inside of the jar) until it reaches the level of sourness you prefer.
- It’s important not to seal the kimchi jar tight when you store it at room temperature. The fermentation process will create gas inside the jar, which might cause the top to blow off and you’ll end up with kimchi all over the kitchen! The gas will be able to escape as long as the top of the mason jar is loosely closed.
- During the first few days, the fermentation process should draw-out liquid from the veggies and the kimchi should eventually be fully submerged in the paste (this is why the ‘porridge’ is really important). If the kimchi isn’t submerged in the paste, simply top it up with a small splash of salty water but avoid making the paste too runny.
- After the first 1-3 days, you can then close the jar so it’s air-tight and store the kimchi in the fridge for 3-6 months (as long as you’ve used a sterile jar). In our opinion, the kimchi will taste the best after at least 2-3 weeks in the fridge.
There are various ways you can sterilise a jar.
We simply wash and rinse the jars, then sterilise them in the oven for 15 minutes at 160°C / 320°F.
If you’re using mason jars like ours, make sure you remove the rubber sealant and boil it separately in water for 2-3 minutes.
Alternatively you could wash the jars in a dishwasher on the hottest setting.
It’s also important to thoroughly clean any equipment (mixing bowls, knives and chopping boards) before use to make everything as sterile as possible.
Here’s what else you need to know:
- You can easily make this gluten-free by using rice flour in the porridge and tamari in the paste.
- Kimchi is traditionally made using shrimp or fish paste. We use nori (seaweed) to capture a similar taste of the sea.
- Gochugaru is a Korean red pepper powder which you’ll find in Asian supermarkets or you can also order it online. We were considering suggesting an alternative but kimchi really isn’t the same without it!
- It’s really important to wear gloves when you mix the kimchi. There’s a lot of chilli powder going into the mixture so it’s best to avoid contact with your skin.
How To Make Vegan KimchiHow To Make Vegan Kimchi 🌶 Did you know we also have a new cookbook? ONE POT VEGAN is out now 👉 sovegan.co/opva
Posted by So Vegan on Tuesday, 29 September 2020
 1 Chinese Napa cabbage
1 Comment
Hi, thank you for the recipe:)
if I want to use 3 cabbages, would I still need to keep the same ratio?